
Proof of Work
io.net is committed to providing a reliable and trustworthy platform for distributed CPU/GPU resources. A key challenge in a decentralized network is to ensure that the computational resources offered by suppliers are genuine and perform as intended. We actively verify the authenticity and reliability of the network by implementing an hourly Proof-of-Work (PoW) verification process.
What is Proof-of-Work?
Proof-of-Work is a cryptographic puzzle that requires significant computational resources to solve. It’s easy to verify the authenticity of a GPU/CPU after they successfully solve the puzzle. Our PoW algorithm leverages an industry-standard approach to verify computational resources, similar to the approaches used in cryptocurrencies such as Ethereum, prior to its Proof-of-Stake upgrade, and Bitcoin.
Why Is This Necessary?
- Authenticity Verification: PoW verifies that suppliers provide real and functional CPU/GPU resources rather than simulated or virtual environments.
- Performance Validation: By requiring devices to solve complex puzzles, we can verify that they perform at the level claimed by the supplier.
- Fraud Prevention: This mechanism makes it difficult and economically unfeasible for malicious actors to fake or overstate their computational capacity.
- Quality Assurance: Regular PoW checks help maintain the overall quality and reliability of the io.net network.
- Fair Resource Allocation: By verifying the authenticity and performance of resources, we ensure fair pricing and allocation for users hiring computational power.
Our hourly PoW process runs in the background, causing minimal disruption to normal operations while continuously ensuring the integrity of our network. Suppliers can expect some load on their devices normally for no more than 15 mins per hour to complete the hourly Proof-of-Work authentication process.
When you onboard your device into the io.net network, the device’s full capacity should be available to potential customers. If your device's computational capacity is compromised when connected to our platform, it might disqualify you from rewards and being hired. Please note that we expect resources including VRAM to be fully available while your device is made available on io.net.
The PoW Process
There are three parts in this process:
- Binary Checker API: This is a tool that helps us solve the puzzle. It checks if a solution meets the puzzle's requirements.
- Challenges API: These are the puzzles themselves. It involves finding a number that fits a specific pattern, such as having a certain number of zeros at the beginning.
- Results Submission API: Once we find a solution, we submit it to the system to check if it's correct.
Here's how it works in simple steps:
- The Binary Checker receives a puzzle and attempts to find a solution (called a nonce) that fits the puzzle's pattern.
- The system verifies that the device has the reported amount of VRAM to prevent devices with similar hash rates from misrepresenting their capacity.
- When a solution is found, it sends it to the system for verification.
- The system verifies that the solution matches the puzzle's requirements. For example, containing a specific number of zeros at the beginning.
- If the solution matches the requirements, the system records this as a successful solution. The device has passed PoW challenge.
We have a monitoring system that regularly checks for new puzzles, finds solutions, and submits them for verification.
Is My Device Verified?
There are two visible aspects of Proof of Work (PoW) in our system:
-
Users can directly see on their device page whether their device is Verified or Not Verified:
Verified devices are indicated by a blue icon located underneath the name of your device:
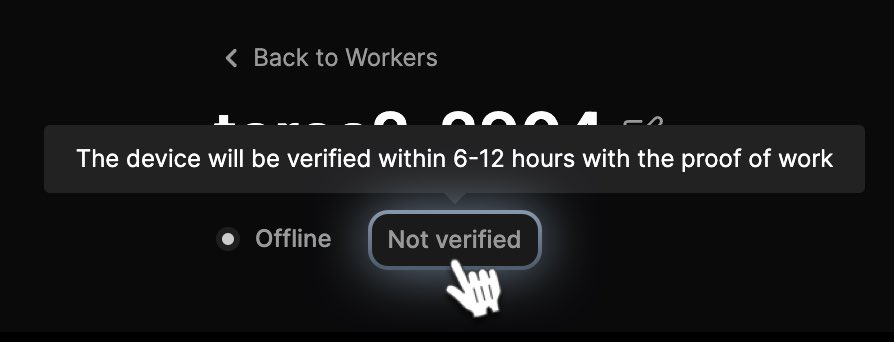
Devices that are awaiting verification have a gray mark:
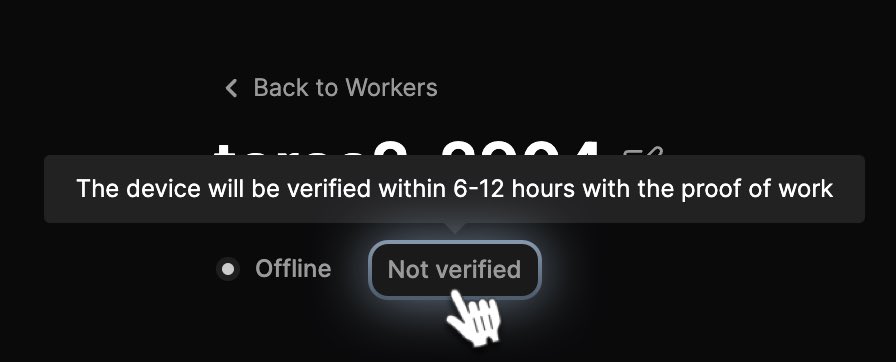
Verification Failed have a red label:
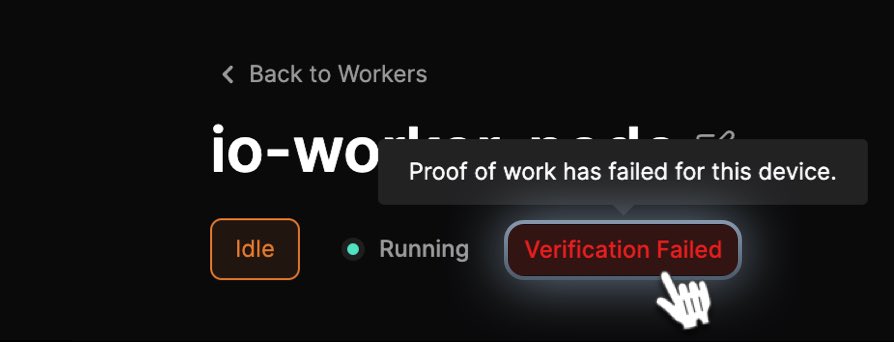
What Happens if Proof-of-Work Fails?
If Proof-of-Work fails on your device, you may find your device tagged Verification Failed and/or Not Block Reward Ready.

You can use our Proof-of-Work logs to troubleshoot any potential issues by searching for your device ID to view any errors that occurred during the hourly Proof-of-Work challenges. Please download logs corresponding to where PoW failure took please and either use grep if you are familiar with command line tools (recommended) or use Microsoft Excel to search for your device ID.
Common errors you might encounter in the PoW log include:
- If you find an empty list passed error: This is often caused by a CUDA memory allocation error. Your device might be occupied by some other jobs, Please check and stop using the device for other purposes when it's available on the IO platform.
- If you find a wrong answer error: Your device failed the PoW test. You may want to delete all containers, download the latest launcher, and restart the onboarding process following our documentation.
- If you find a timeout error: Due to the inherent indeterminacy of PoW, there is a slight chance that your device might fail a PoW test even if it's correctly configured. Mostly likely, if you repeat the setup process, it will pass PoW.
Common issue that can cause errors:
- If you run your devices on deprecated drivers or CUDA versions (in case of Nvidia Graphics cards).
- If you have more than 3 GPUs in your setup, we recommend running your device on Linux because there are intermittent issues with multi-card setups on Windows platforms. PoW tests have a high probability of failing in this instance.
If you use Linux, you can run a self-check binary to troubleshoot your devices. A successful self-check does not guarantee that your device will pass PoW; however, your device is highly unlikely to pass PoW if self-check returns any errors. This binary also works on Windows WSL2: https://github.com/ionet-official/io-net-official-setup-script/releases/.
Encountering problems? Feel free to open a support ticket by logging into your IO.Net account and submitting a ticket.
Updated 9 months ago