
Train a PyTorch Model on Fashion MNIST: Jupyter Notebook
This document describes how to run a job on your cluster that distributes the training workload across multiple workers using Ray's distributed computing capabilities. This allows for parallelizing the training process and potentially reducing the overall training time. In the instructions below, we run Train a PyTorch Model on Fashion MNIST job using Jupyter Notebook.
For more information about Jupyter Notebook, see their documentation.
Table of Contents
- Steps to run a test job in Jupyter Notebook
- Congratulations on Successfully Training Your First Model
- Troubleshooting Model Training
Steps to run a test job in Jupyter Notebook:
-
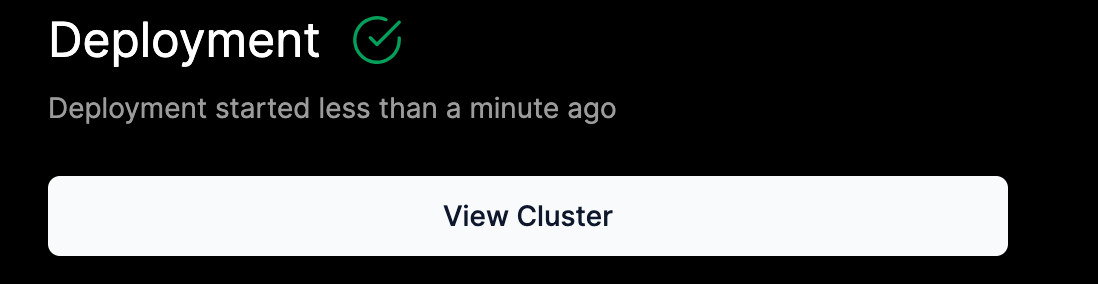
After your cluster deployment is complete, go to View Cluster.
-
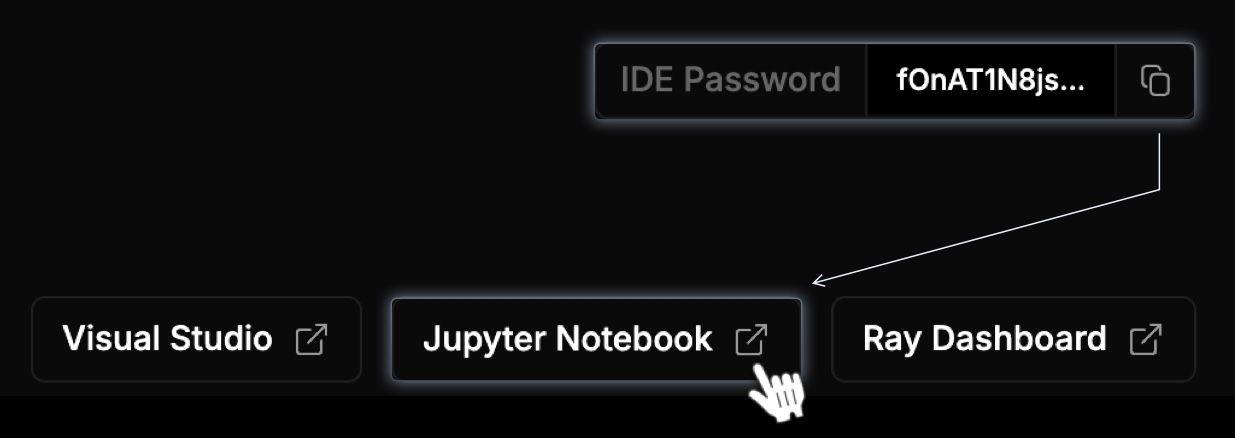
On the cluster detail page, copy the IDE Password and click Jupyter Notebook.
-
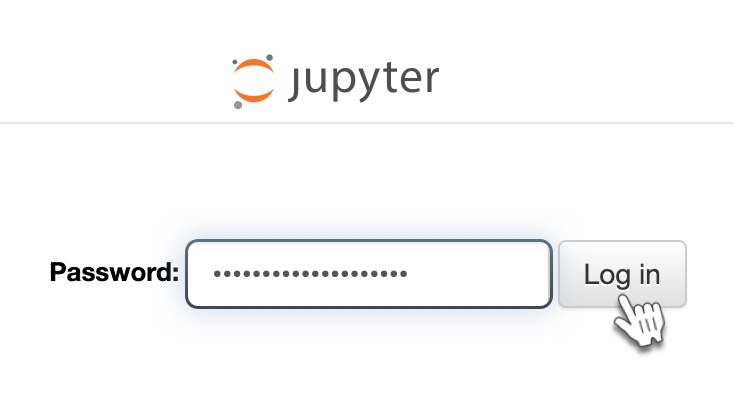
Enter your IDE Password you copied in the Jupyter password field.
-
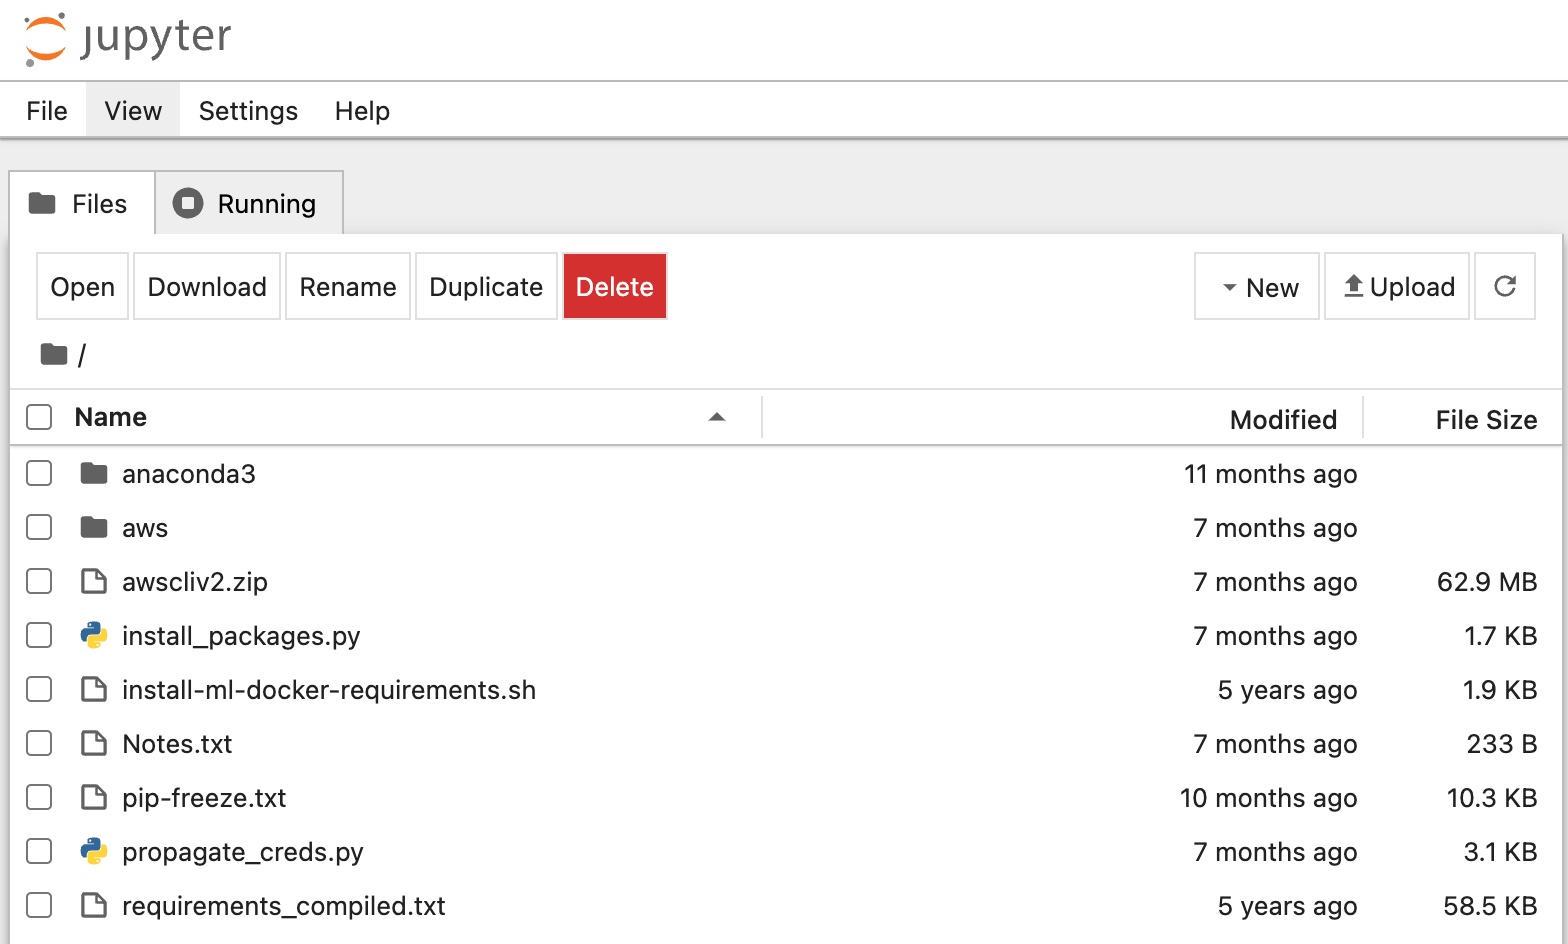
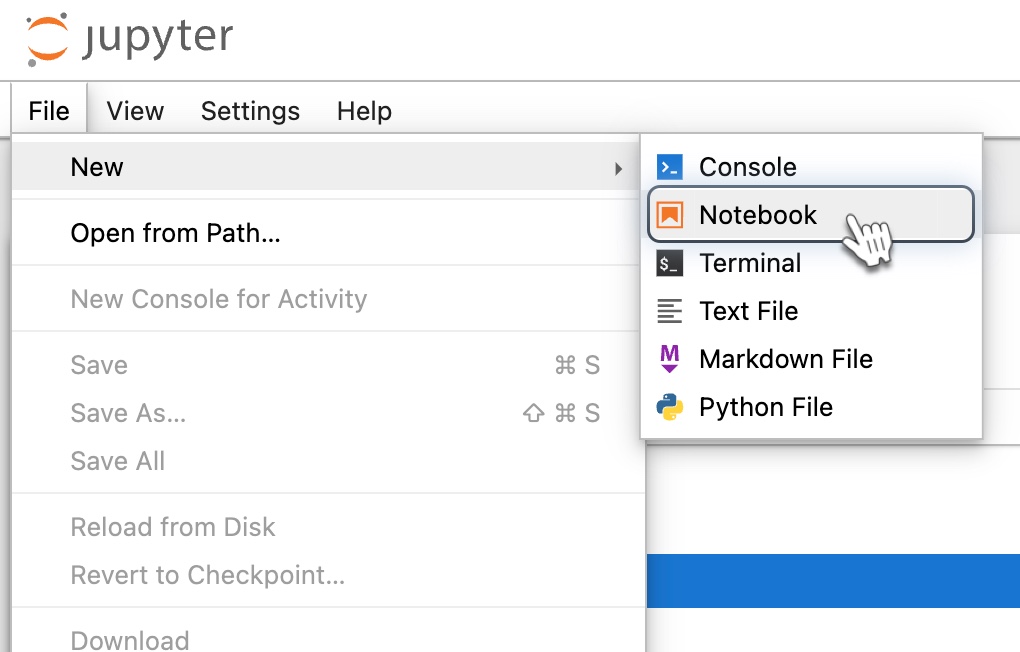
Click File to create a new Python Notebook.
-
In the New dropdown, select Notebook. It launches a new tab.
-
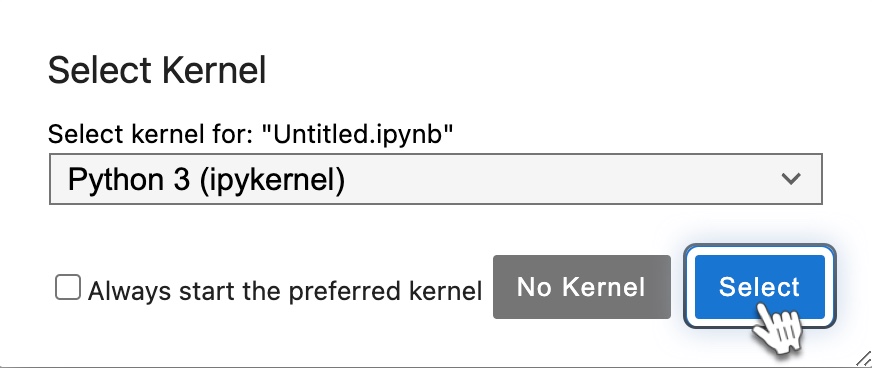
A new notebook will open in a new browser tab with a prompt to select a kernel. Choose Python 3 for this example, then click Select.
-
Enter the code sample below into a cell and click Run.
import os
from typing import Dict

import torch
from filelock import FileLock
from torch import nn
from torch.utils.data import DataLoader
from torchvision import datasets, transforms
from torchvision.transforms import Normalize, ToTensor
from tqdm import tqdm

import ray.train
from ray.train import ScalingConfig
from ray.train.torch import TorchTrainer


def get_dataloaders(batch_size):
    transform = transforms.Compose([ToTensor(), Normalize((0.5,), (0.5,))])

    with FileLock(os.path.expanduser("~/data.lock")):
        training_data = datasets.FashionMNIST(
            root="~/data",
            train=True,
            download=True,
            transform=transform,
        )

        test_data = datasets.FashionMNIST(
            root="~/data",
            train=False,
            download=True,
            transform=transform,
        )

    train_dataloader = DataLoader(training_data, batch_size=batch_size, shuffle=True)
    test_dataloader = DataLoader(test_data, batch_size=batch_size)

    return train_dataloader, test_dataloader


class NeuralNetwork(nn.Module):
    def __init__(self):
        super(NeuralNetwork, self).__init__()
        self.flatten = nn.Flatten()
        self.linear_relu_stack = nn.Sequential(
            nn.Linear(28 * 28, 512),
            nn.ReLU(),
            nn.Dropout(0.25),
            nn.Linear(512, 512),
            nn.ReLU(),
            nn.Dropout(0.25),
            nn.Linear(512, 10),
            nn.ReLU(),
        )

    def forward(self, x):
        x = self.flatten(x)
        logits = self.linear_relu_stack(x)
        return logits


def train_func_per_worker(config: Dict):
    lr = config["lr"]
    epochs = config["epochs"]
    batch_size = config["batch_size_per_worker"]

    train_dataloader, test_dataloader = get_dataloaders(batch_size=batch_size)

    train_dataloader = ray.train.torch.prepare_data_loader(train_dataloader)
    test_dataloader = ray.train.torch.prepare_data_loader(test_dataloader)

    model = NeuralNetwork()

    model = ray.train.torch.prepare_model(model)

    loss_fn = nn.CrossEntropyLoss()
    optimizer = torch.optim.SGD(model.parameters(), lr=lr, momentum=0.9)

    # Model training loop
    for epoch in range(epochs):
        if ray.train.get_context().get_world_size() > 1:
            train_dataloader.sampler.set_epoch(epoch)

        model.train()
        for X, y in tqdm(train_dataloader, desc=f"Train Epoch {epoch}"):
            pred = model(X)
            loss = loss_fn(pred, y)

            optimizer.zero_grad()
            loss.backward()
            optimizer.step()

        model.eval()
        test_loss, num_correct, num_total = 0, 0, 0
        with torch.no_grad():
            for X, y in tqdm(test_dataloader, desc=f"Test Epoch {epoch}"):
                pred = model(X)
                loss = loss_fn(pred, y)

                test_loss += loss.item()
                num_total += y.shape[0]
                num_correct += (pred.argmax(1) == y).sum().item()

        test_loss /= len(test_dataloader)
        accuracy = num_correct / num_total

        ray.train.report(metrics={"loss": test_loss, "accuracy": accuracy})


def train_fashion_mnist(num_workers=2, use_gpu=False):
    global_batch_size = 32

    train_config = {
        "lr": 1e-3,
        "epochs": 10,
        "batch_size_per_worker": global_batch_size // num_workers,
    }

    # Configure computation resources
    scaling_config = ScalingConfig(num_workers=num_workers, use_gpu=use_gpu)

    # Initialize a Ray TorchTrainer
    trainer = TorchTrainer(
        train_loop_per_worker=train_func_per_worker,
        train_loop_config=train_config,
        scaling_config=scaling_config,
    )

    result = trainer.fit()
    print(f"Training result: {result}")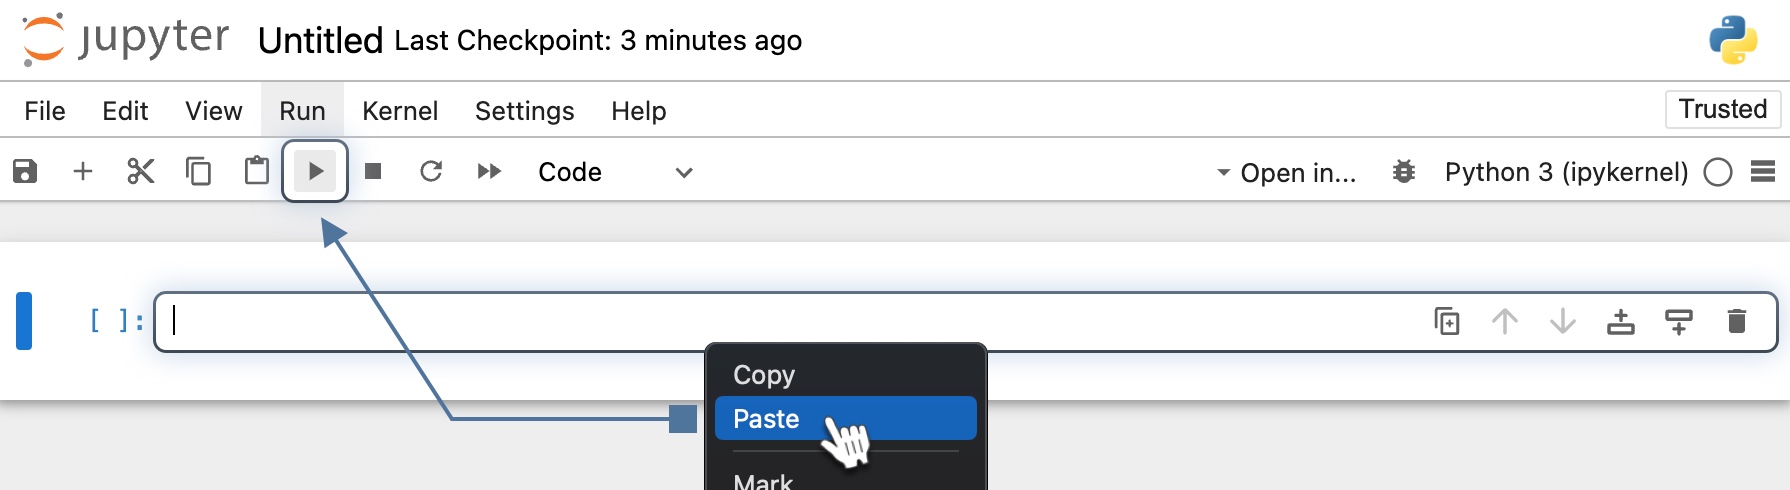
-
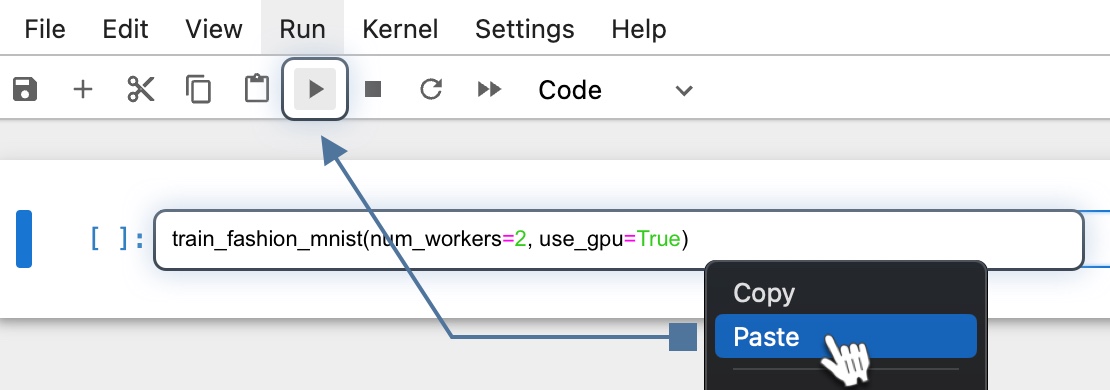
Enter the Python command below in a new cell to run the training model script. Then click Run.
train_fashion_mnist(num_workers=2, use_gpu=True)Note, by default, 2 CPUs and a GPU are set for this command. Make sure that your hardware has enough CPU and GPU available, increase or reduce the allocation if needed.
-
If you scroll to the bottom of the output, you will see the training result.
Training result: Result(
  metrics={'loss': 0.3572742183404133, 'accuracy': 0.8728},
  path='/home/ray/ray_results/TorchTrainer_2024-05-17_18-55-55/TorchTrainer_c3725_00000_0_2024-05-17_18-55-55',
  filesystem='local',
  checkpoint=None
)
Congratulations on Successfully Training Your First Model
You can now track your model's progress using the Ray Dashboard. The dashboard provides detailed insights into your cluster, including cluster utilization, status, autoscaler activity, resource states, and more.
-
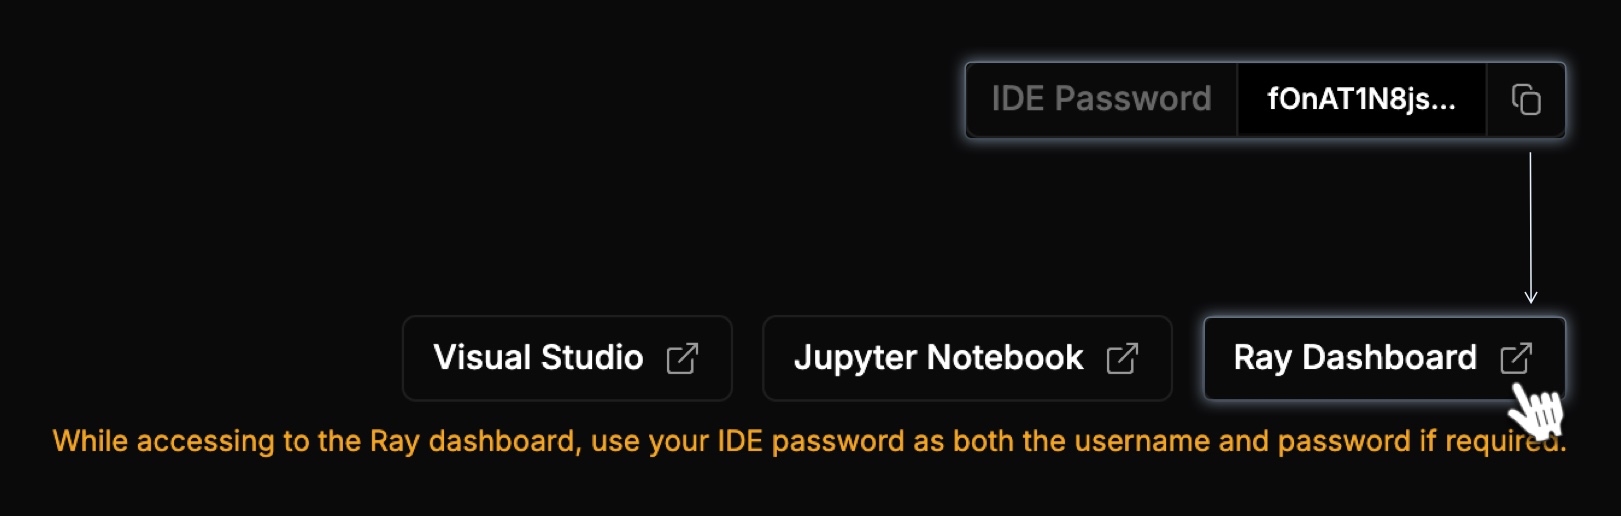
Return to your cluster. On the cluster detail page, copy the IDE Password and click Ray Dashboard.
-
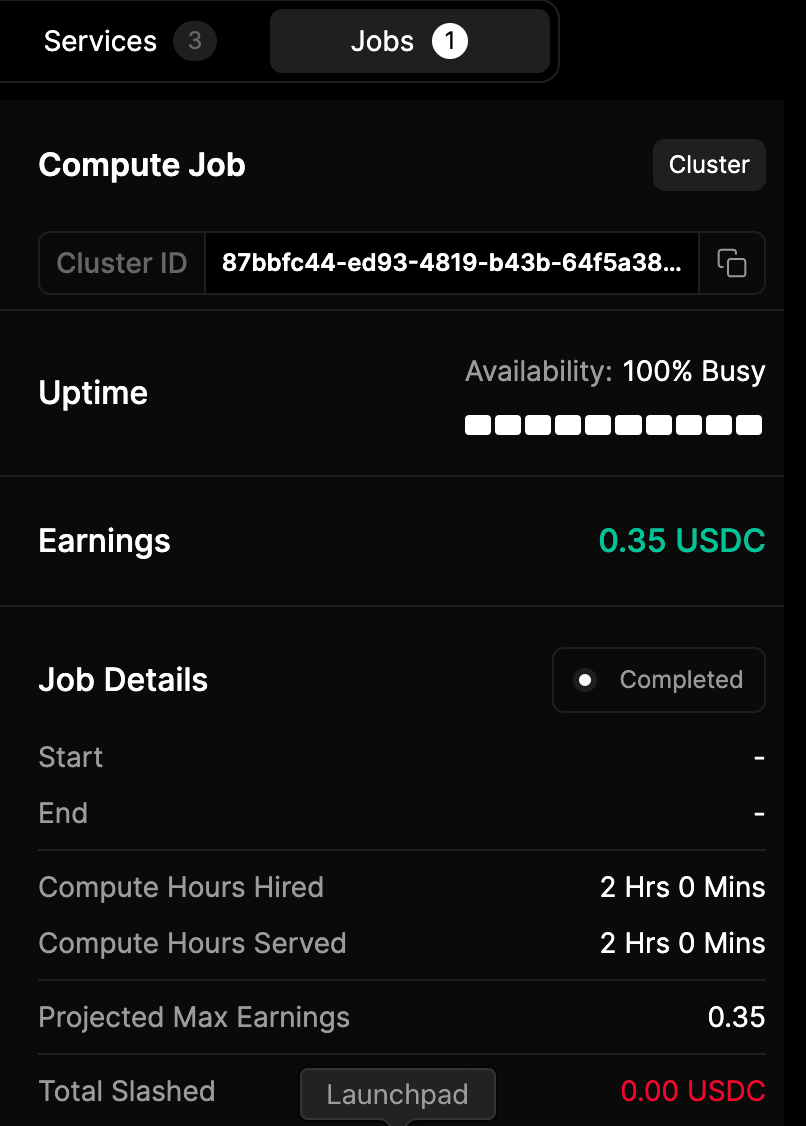
In the password field, enter your password. Click View All Jobs. Here, you can see that your job is running.

-
You can also check this in io.net by going to Clusters > select your cluster > click an IO Worker > Jobs.
Troubleshooting Model Training
-
If you see an error after running the example code that matches the one below:
2025-05-15 01:39:02,503 INFO util.py:154 -- Outdated packages: ipywidgets==7.7.2 found, needs ipywidgets>=8 Run `pip install -U ipywidgets`, then restart the notebook server for rich notebook output. 2025-05-15 01:39:03,181 INFO util.py:154 -- Outdated packages: ipywidgets==7.7.2 found, needs ipywidgets>=8 Run `pip install -U ipywidgets`, then restart the notebook server for rich notebook output. 2025-05-15 01:39:03,219 INFO util.py:154 -- Outdated packages: ipywidgets==7.7.2 found, needs ipywidgets>=8 Run `pip install -U ipywidgets`, then restart the notebook server for rich notebook output. -
Copy the update command for outdated packages, paste it into a new cell, and click the Run button to install the updates:
pip install -U ipywidgets -
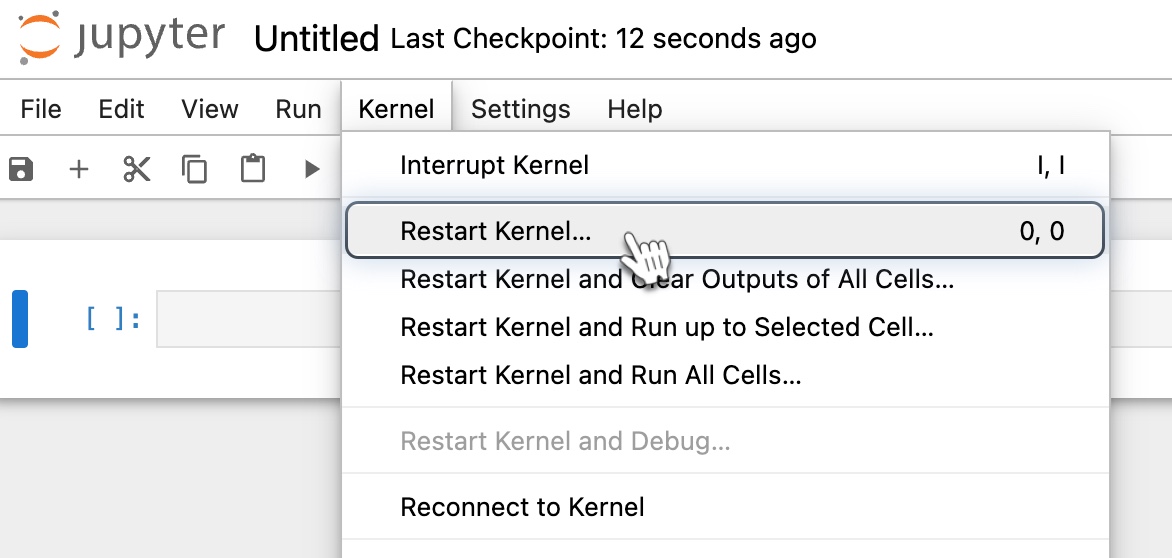
In the toolbar, click Kernel and select Restart the kernel from the dropdown. This updates the packages.
-
Then paste the command again and run it to execute the script.
Updated 4 months ago