
Deploy Ray Cluster
This document explains how to deploy a Ray cluster by leveraging compute power in io.net's DePIN network.
Payments
IO Cloud customers can load their io.net account prior to deploying clusters, or they can pay at the end of the deploy process. The main two ways to pay for clusters is using Solana and credit cards. To use Solana, you must set up a wallet. This can be done when you register your account or later in Account Settings.
To learn more about the types of payments we offer and step-by-step guides, see IO Cloud Payments.
Configure Cluster
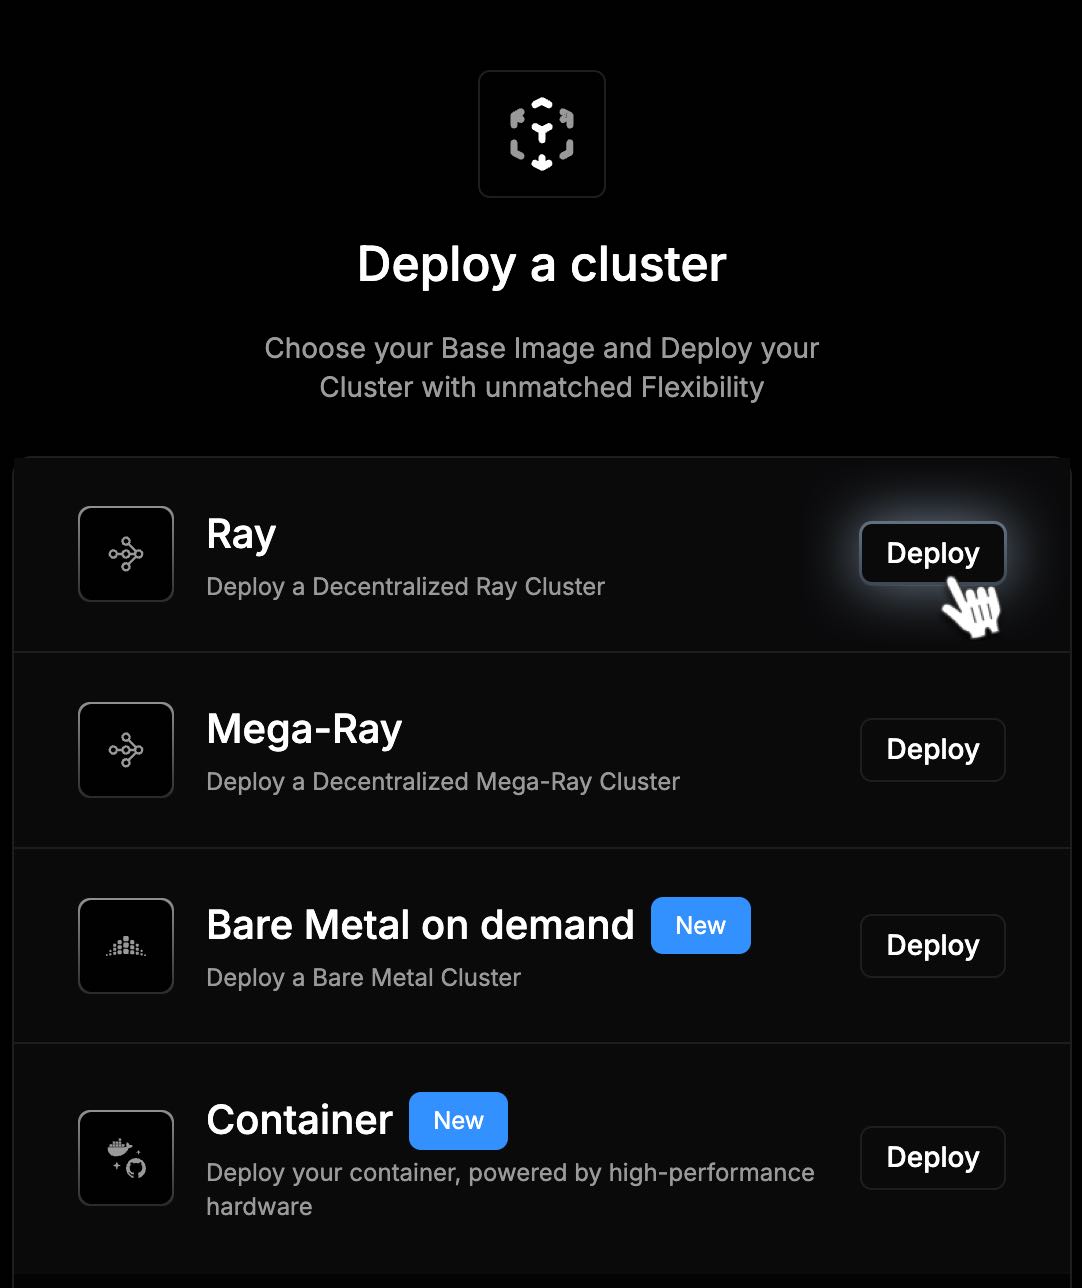
1. Create Cluster
Select Ray from the Cluster menu.
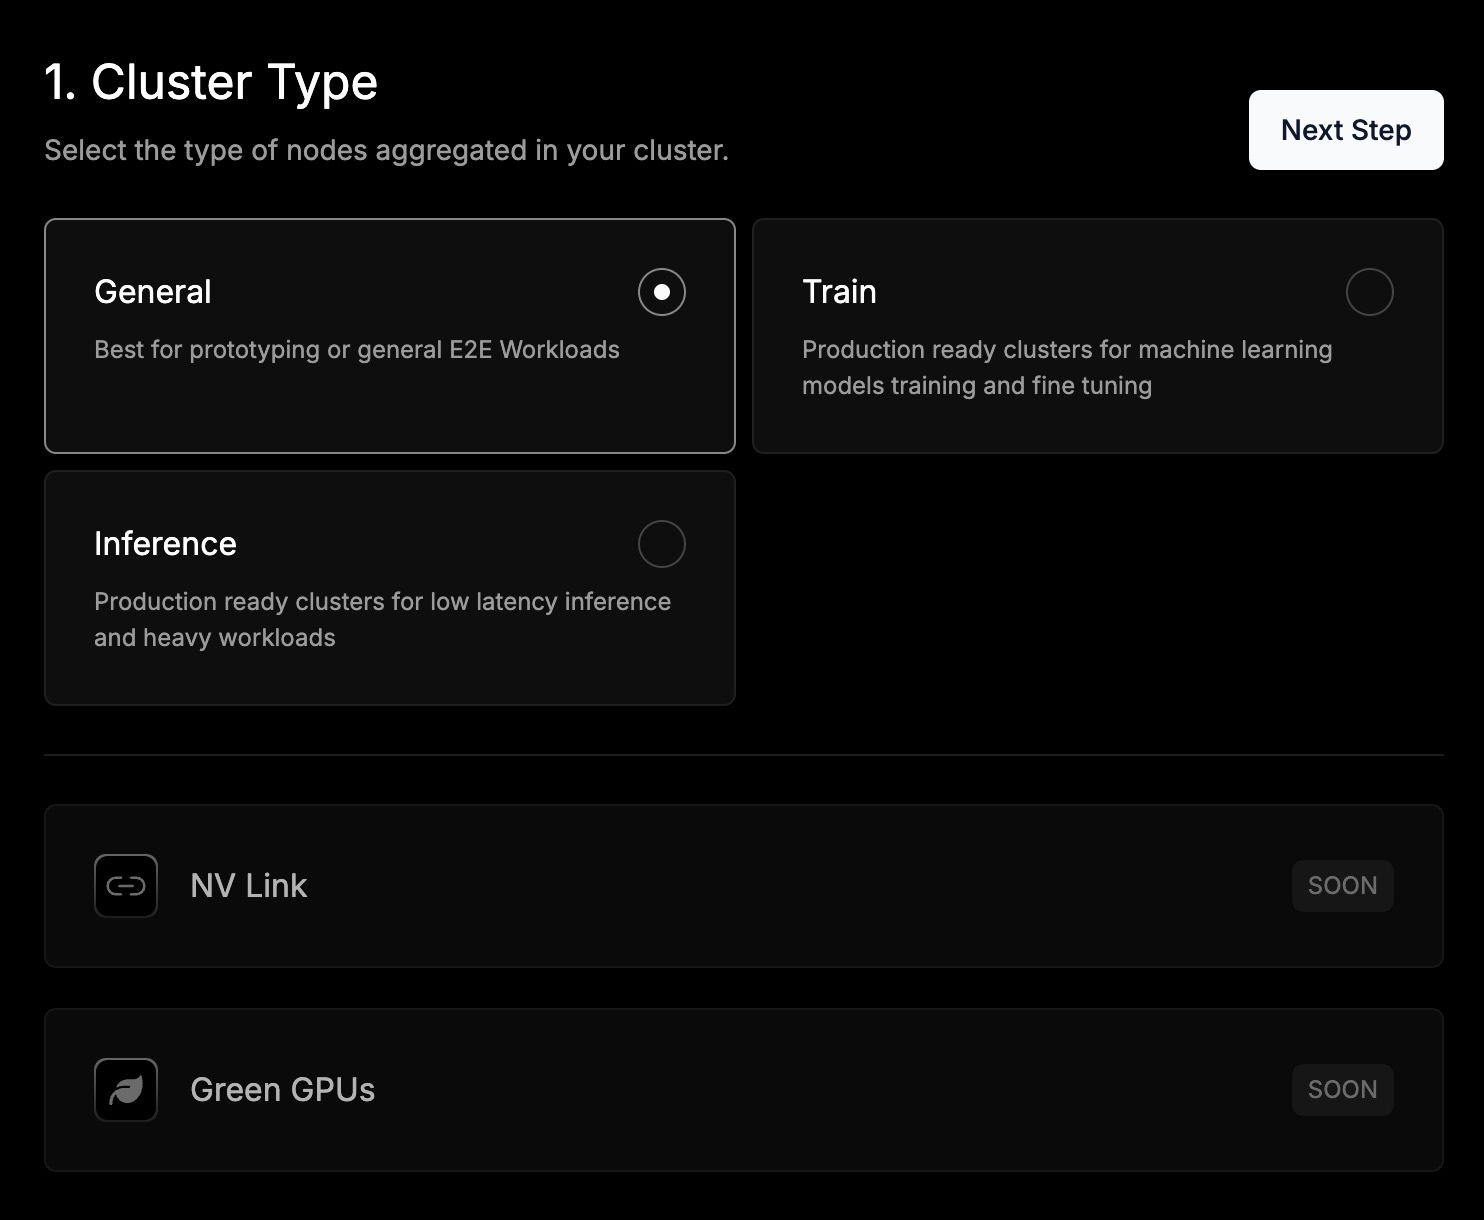
2. Select Cluster Type
Select the cluster type that meets the scope of your project.
- General - This option works well for prototyping or general E2E workloads.
- Inference - Choose if you require production-ready clusters for low-latency inference and heavy workloads.
- Train - Choose if you require production-ready clusters for machine learning models, training, and fine-tuning.
3. Rename Cluster
Click the pencil icon to the right of the name to rename your cluster. In the screenshot below, the icon is highlighted in the blue box. Provide a unique name for your cluster.

Click Next Step.
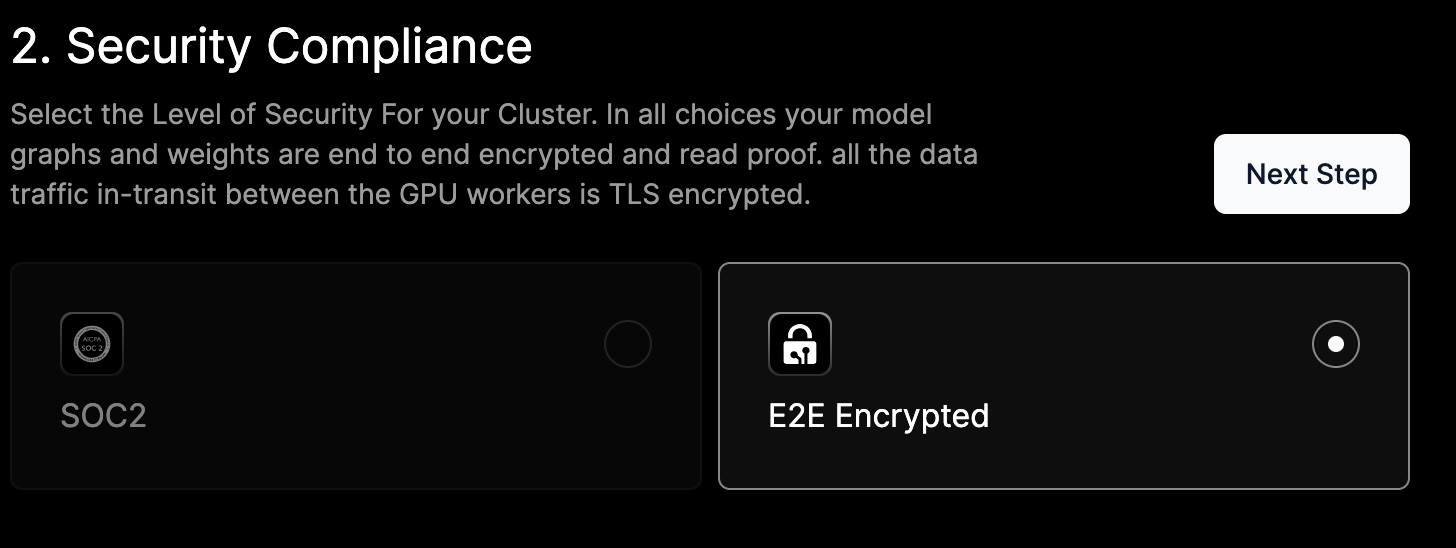
4. Security Compliance
Select the level and type of security for your cluster.
- E2E Encrypted - A method of secure communication that prevents bad actors from accessing data while it's transferred. It restricts data access to the sender and recipient. All data traffic between GPUs is encrypted.
- SOC2/HIPAA - (Coming Soon) A framework for managing and securing data related to technology and cloud computing services. All data traffic between GPUs is encrypted.
Click Next Step.
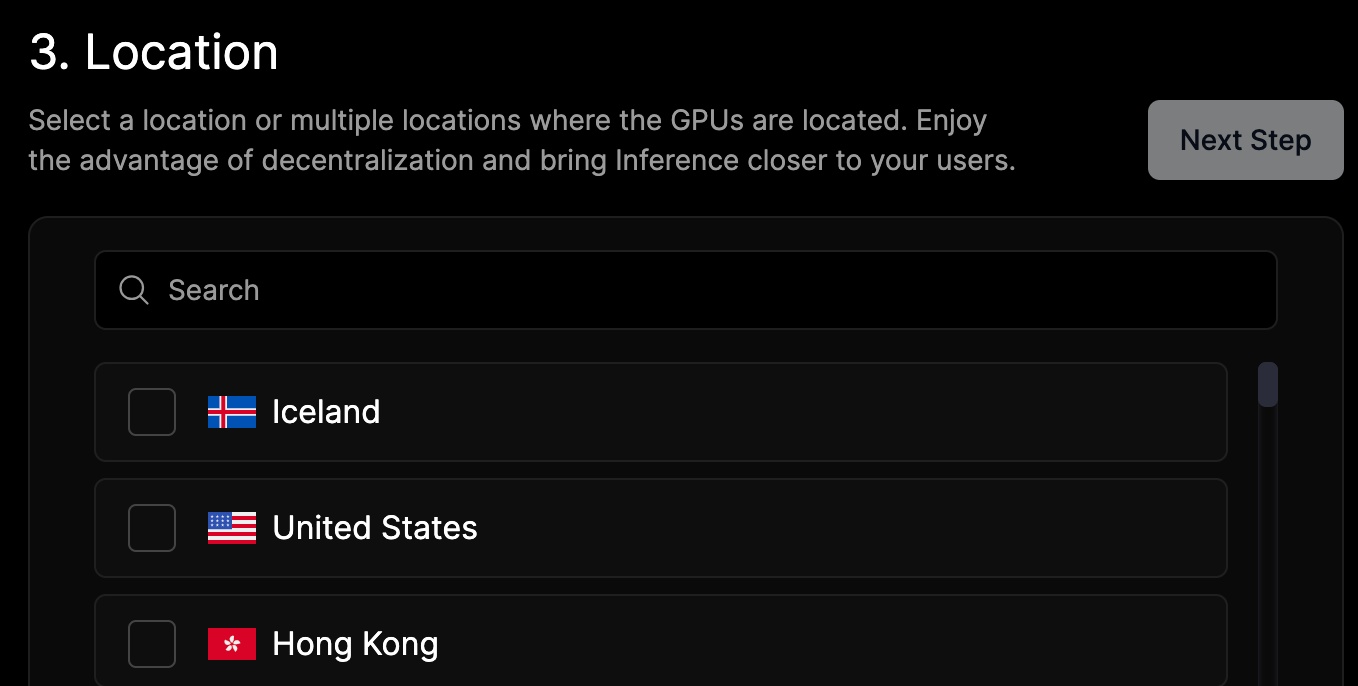
5. Location
To select a location for our GPUs, enter a country name in the Search field or browse the country list (screenshot below is truncated). You can select multiple locations. Residents of countries with strict data residency can use this option to meet those requirements.
One reason to select a specific location is to reduce latency. If you're located in USA and select USA for location, then your clients can get results more quickly if, for example, your GPUs are inferencing.
Click Next Step.
6. Connectivity Tiers
Select the connectivity speed for your project.
- Ultra High Speed - Download 1600 MB/s / 1200 MB/s Upload
- High Speed - Download 800 MB/s / 600 MB/s Upload
- Medium - Download 400 MB/s / 300 MB/s Upload
- Low Speed - Download 100 MB/s / 10 MB/s Upload
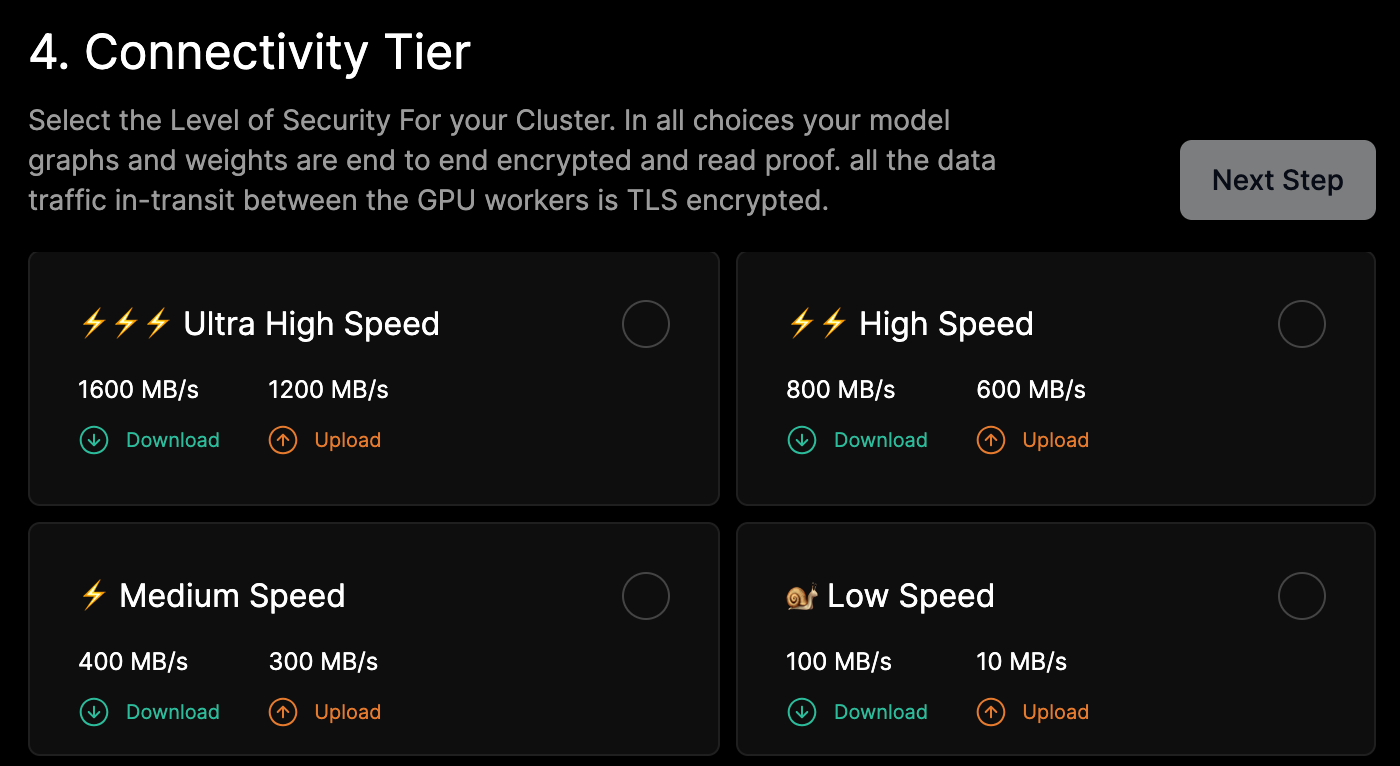
Click Next Step.
7. Select GPUs
Select the type of computing your project requires, GPU or CPU.
- If you select GPU, also select NVIDIA and browse for the model that satisfies your requirements.
- If you select CPU, you can choose between Apple of AMD CPUs.
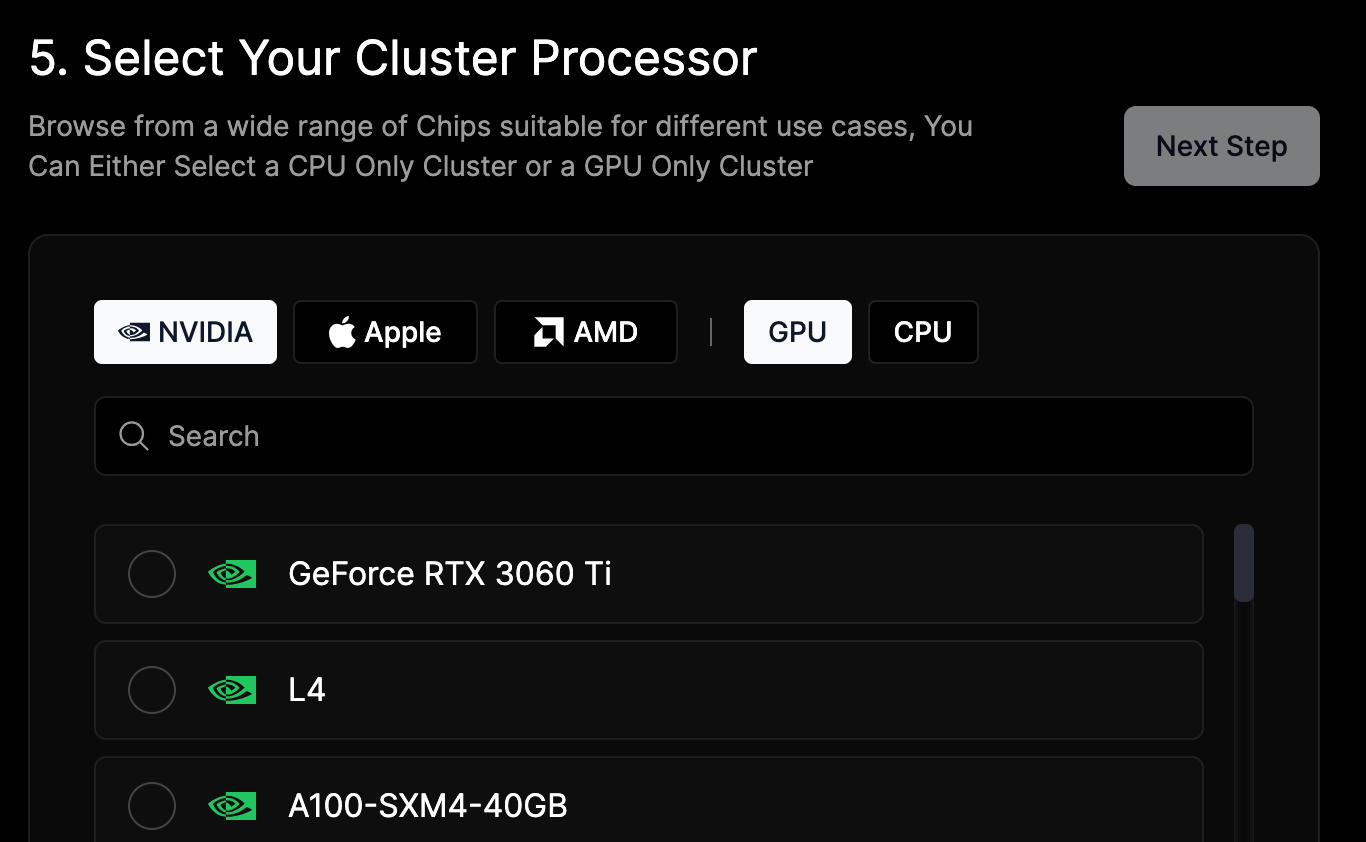
Click Next Step.
8. Cluster Base Image
Ray is the only selection for now. We will release additional cluster base images soon such as:
- IOG
- Ludwig
- Pytorch FSDP
- Unreal Engine 5
- Unity Streaming
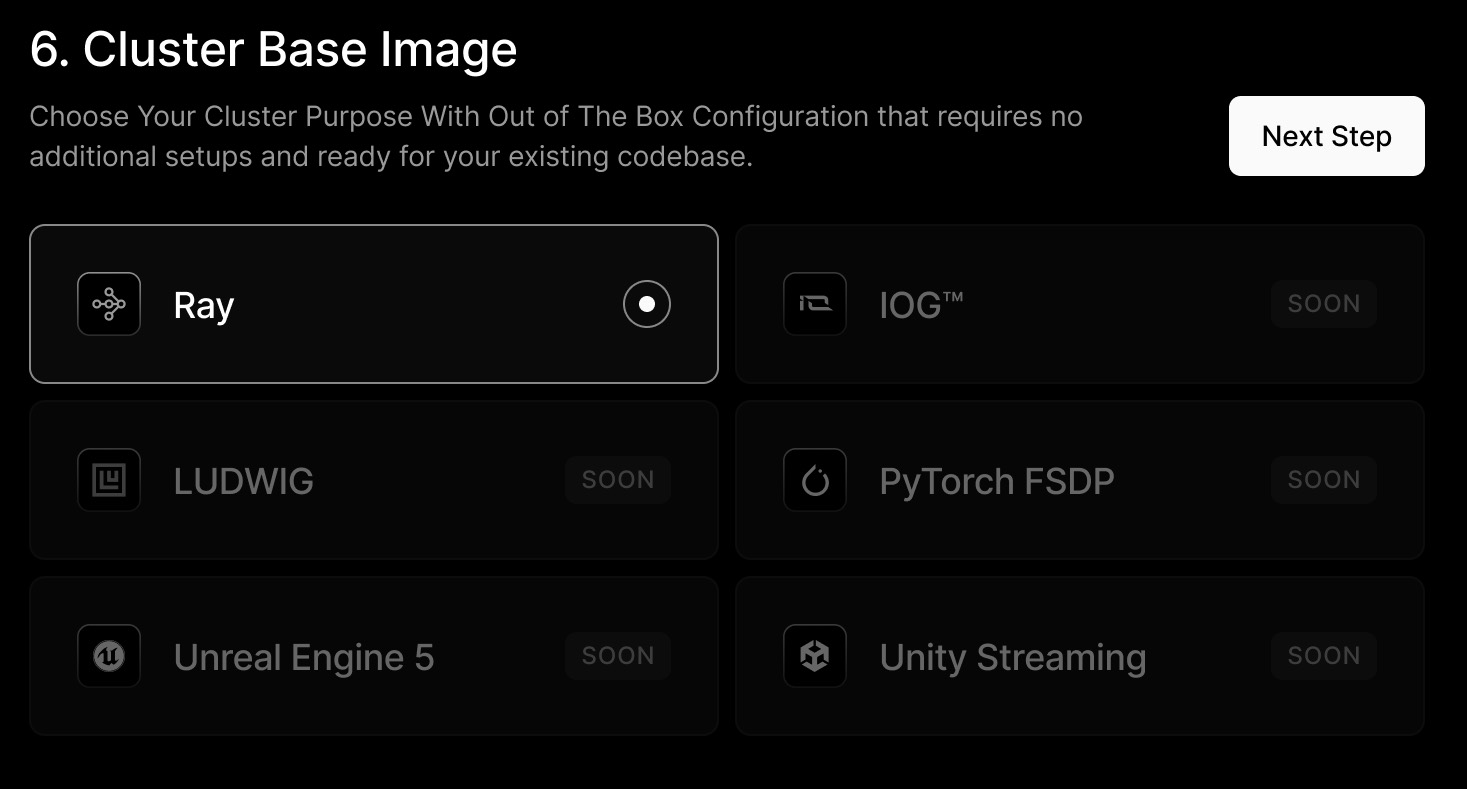
Click Next Step.
9. Master Configuration
All clusters include a preconfigured master node. These nodes are selected by io.net from reliable and security compliant data centers.
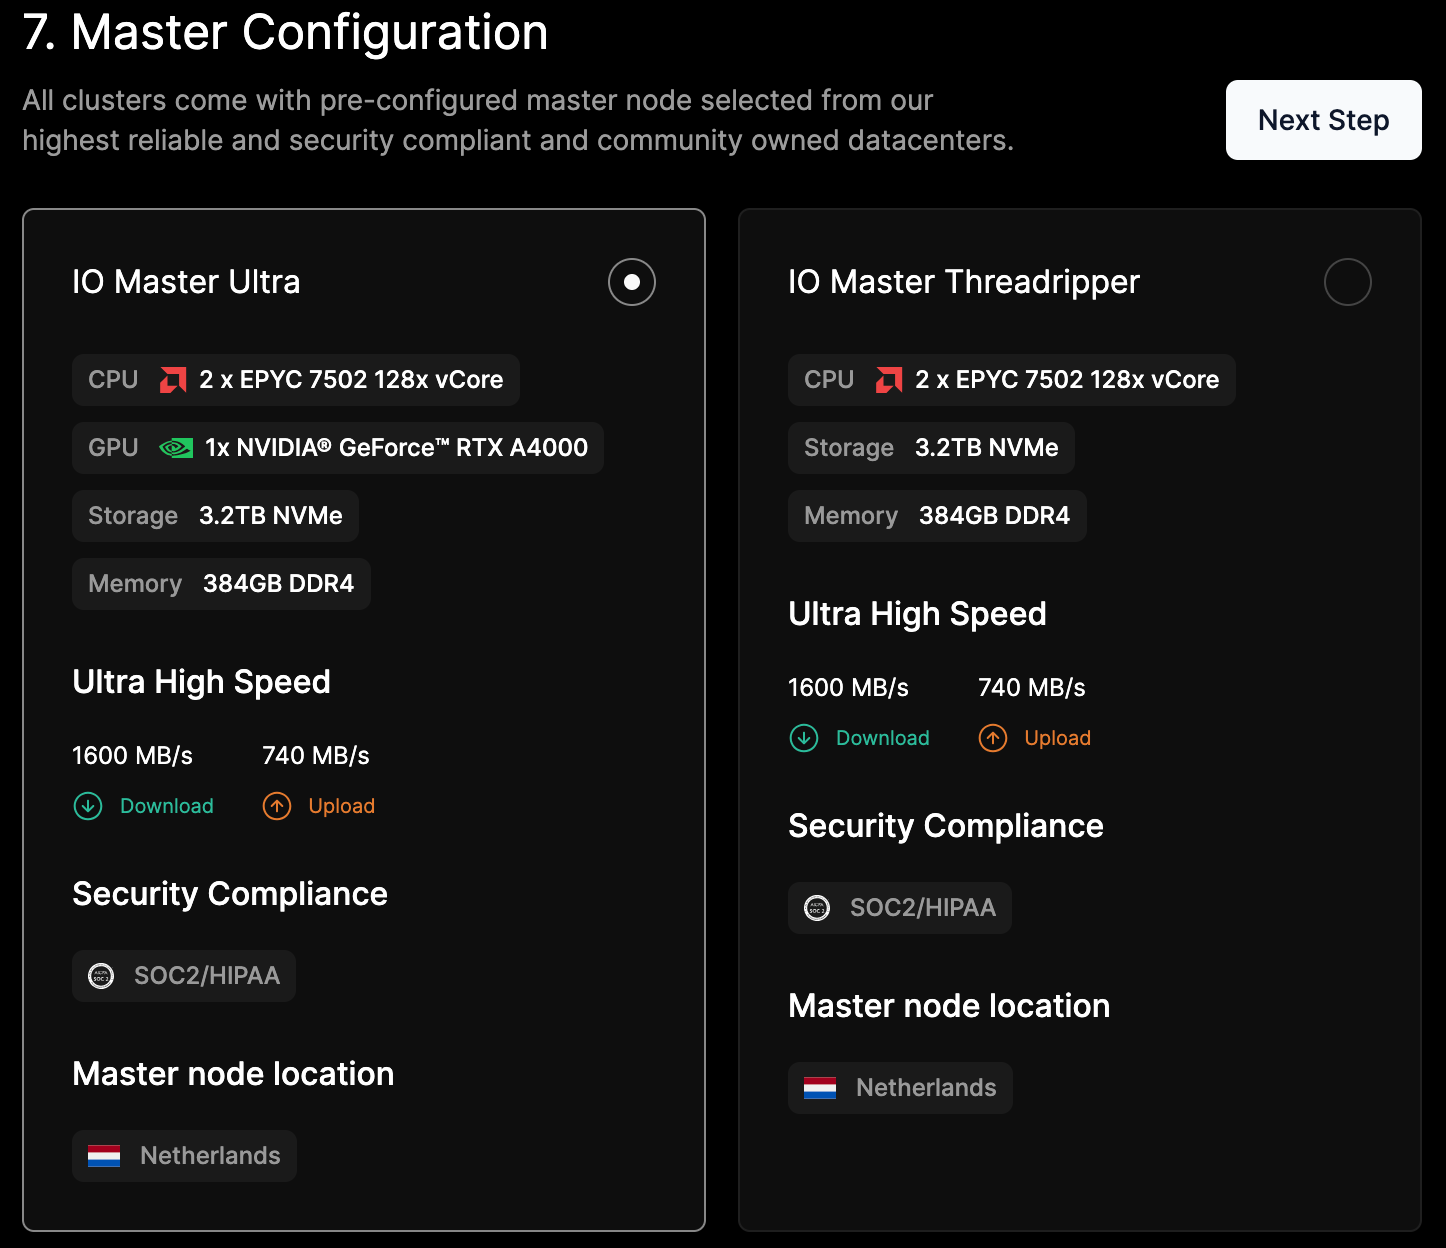
Click Next Step.
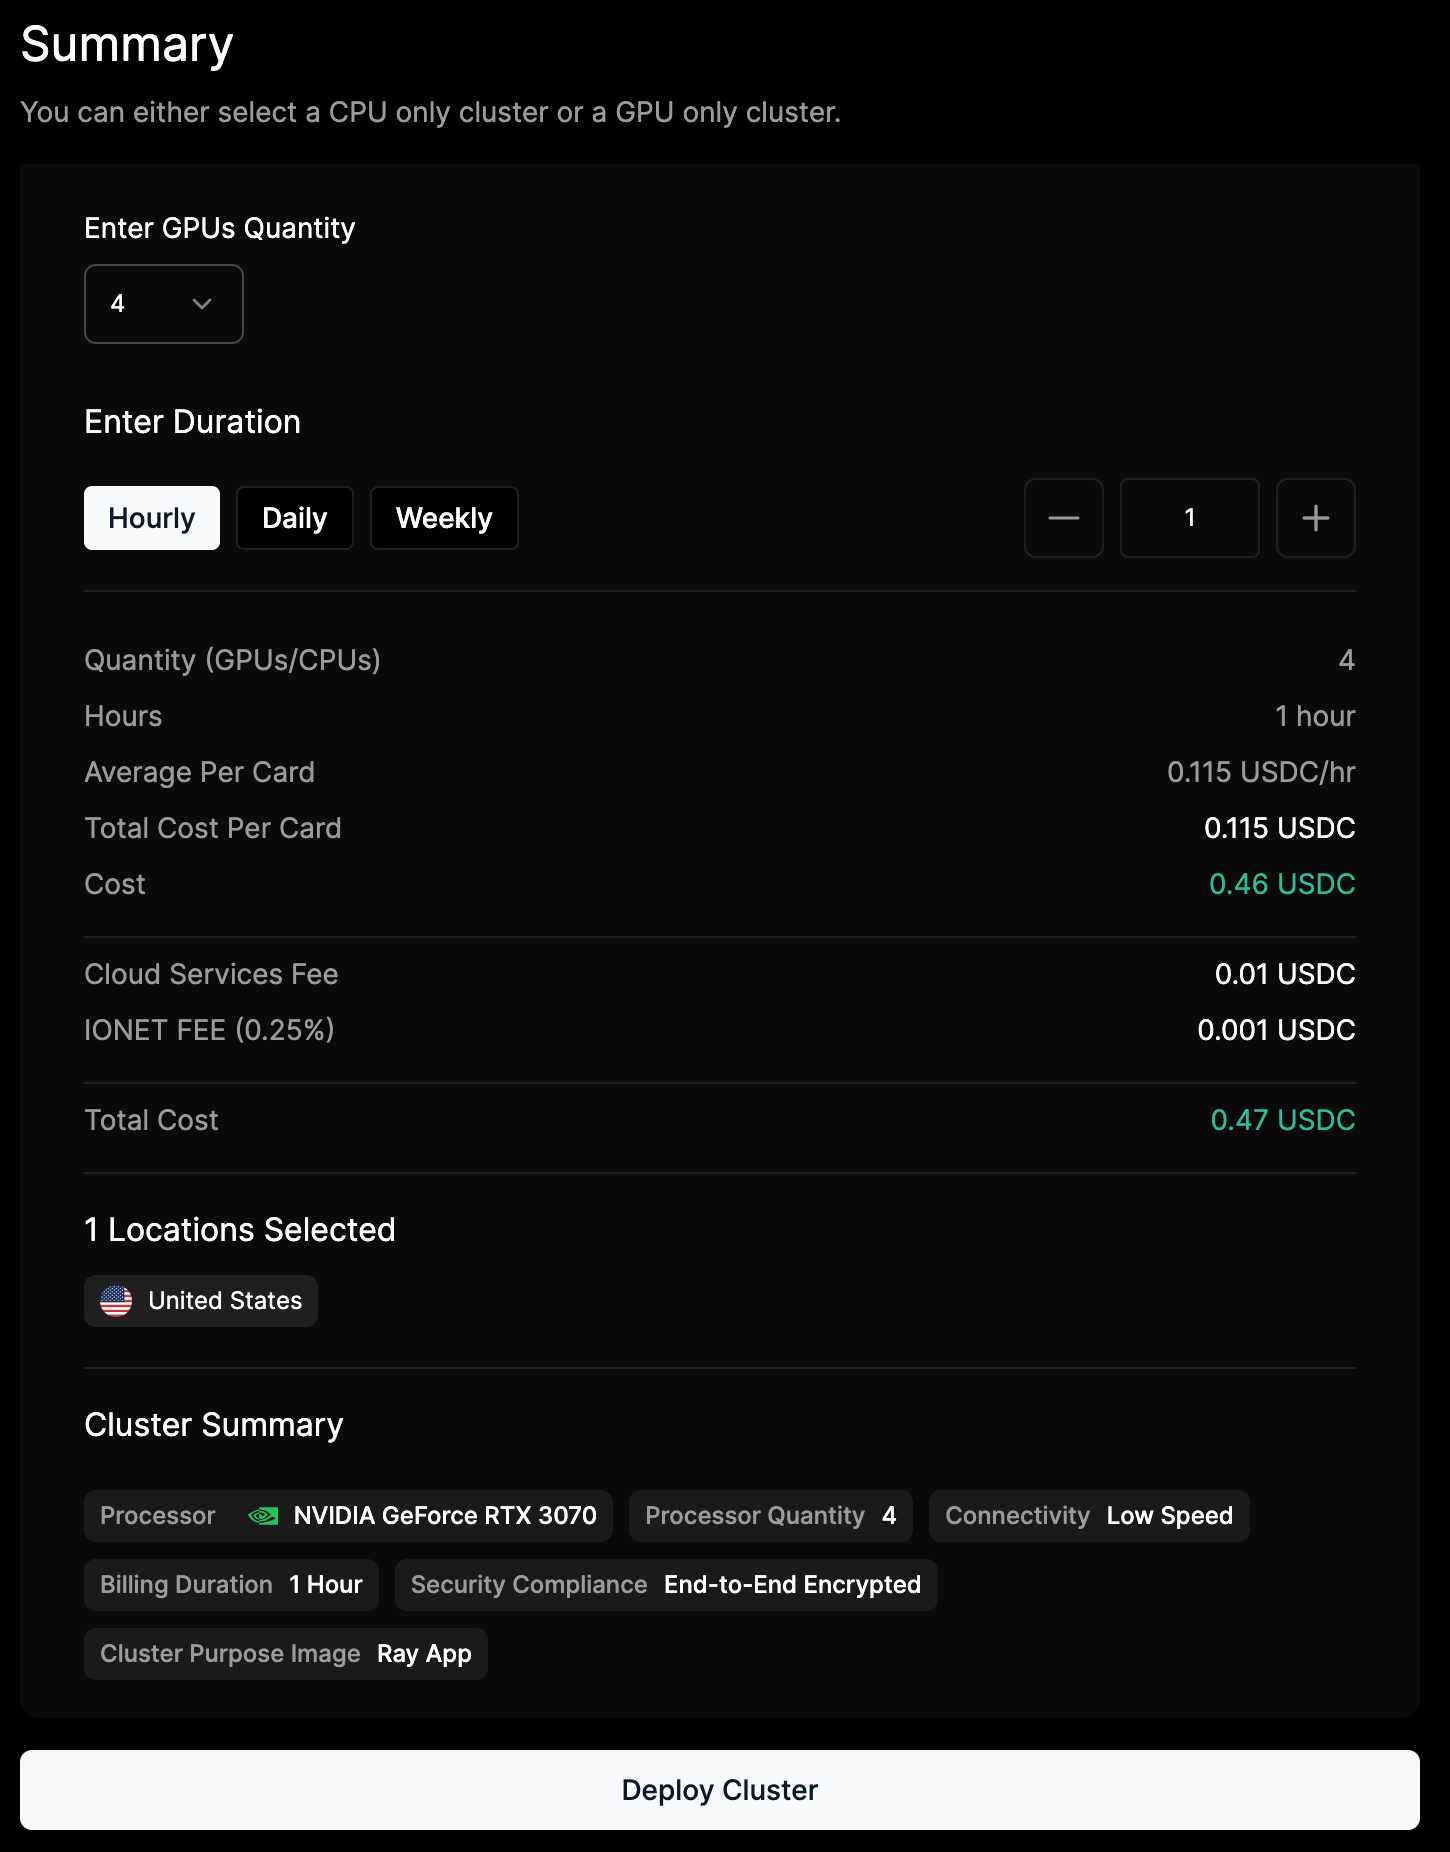
10. Summary
On the Summary page, the choices you made in the process are displayed. You must select the number of GPUs and the duration of time that you will use them.
- In the Enter GPUs Quantity field, select the number of GPUs in the dropdown. 2 GPUs will increase the cost.
- In the Enter Duration field, select the length of time: Hourly, Daily, or Weekly. To the right, you can increase the quantity.
- Review all the details of your cluster, including the Total Cost.
- Click Deploy Cluster.
View Cluster
After payment is processed you can view your cluster loading.
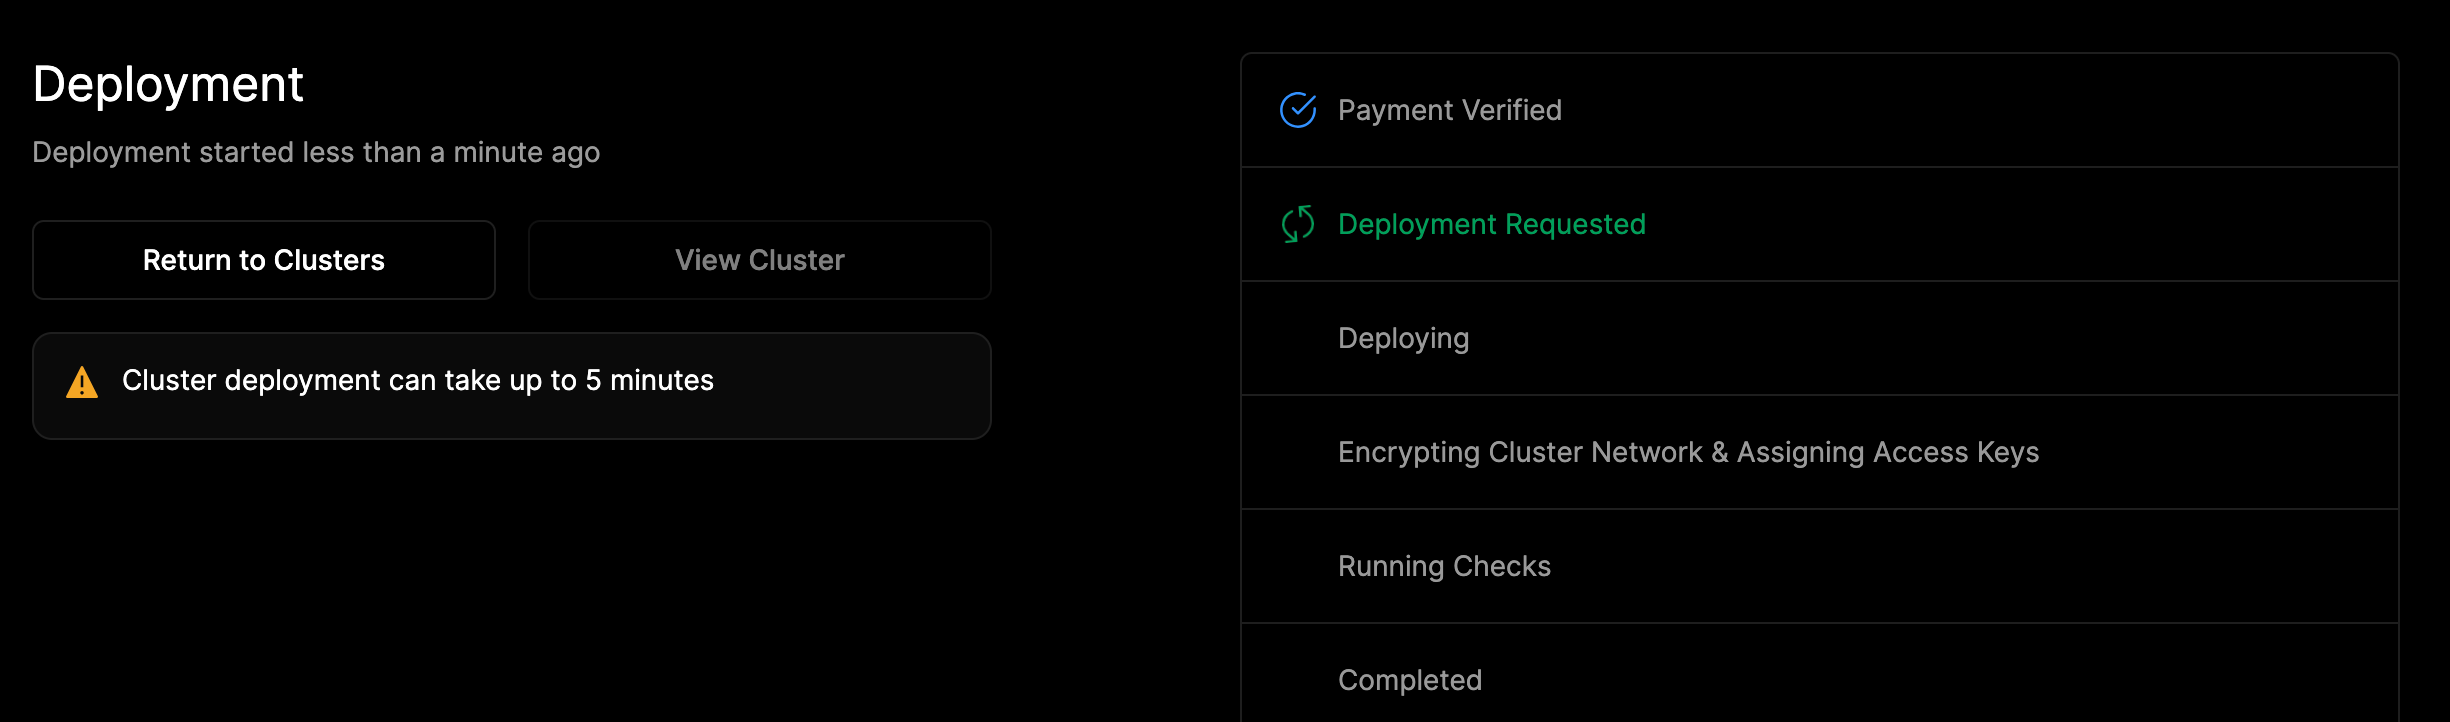
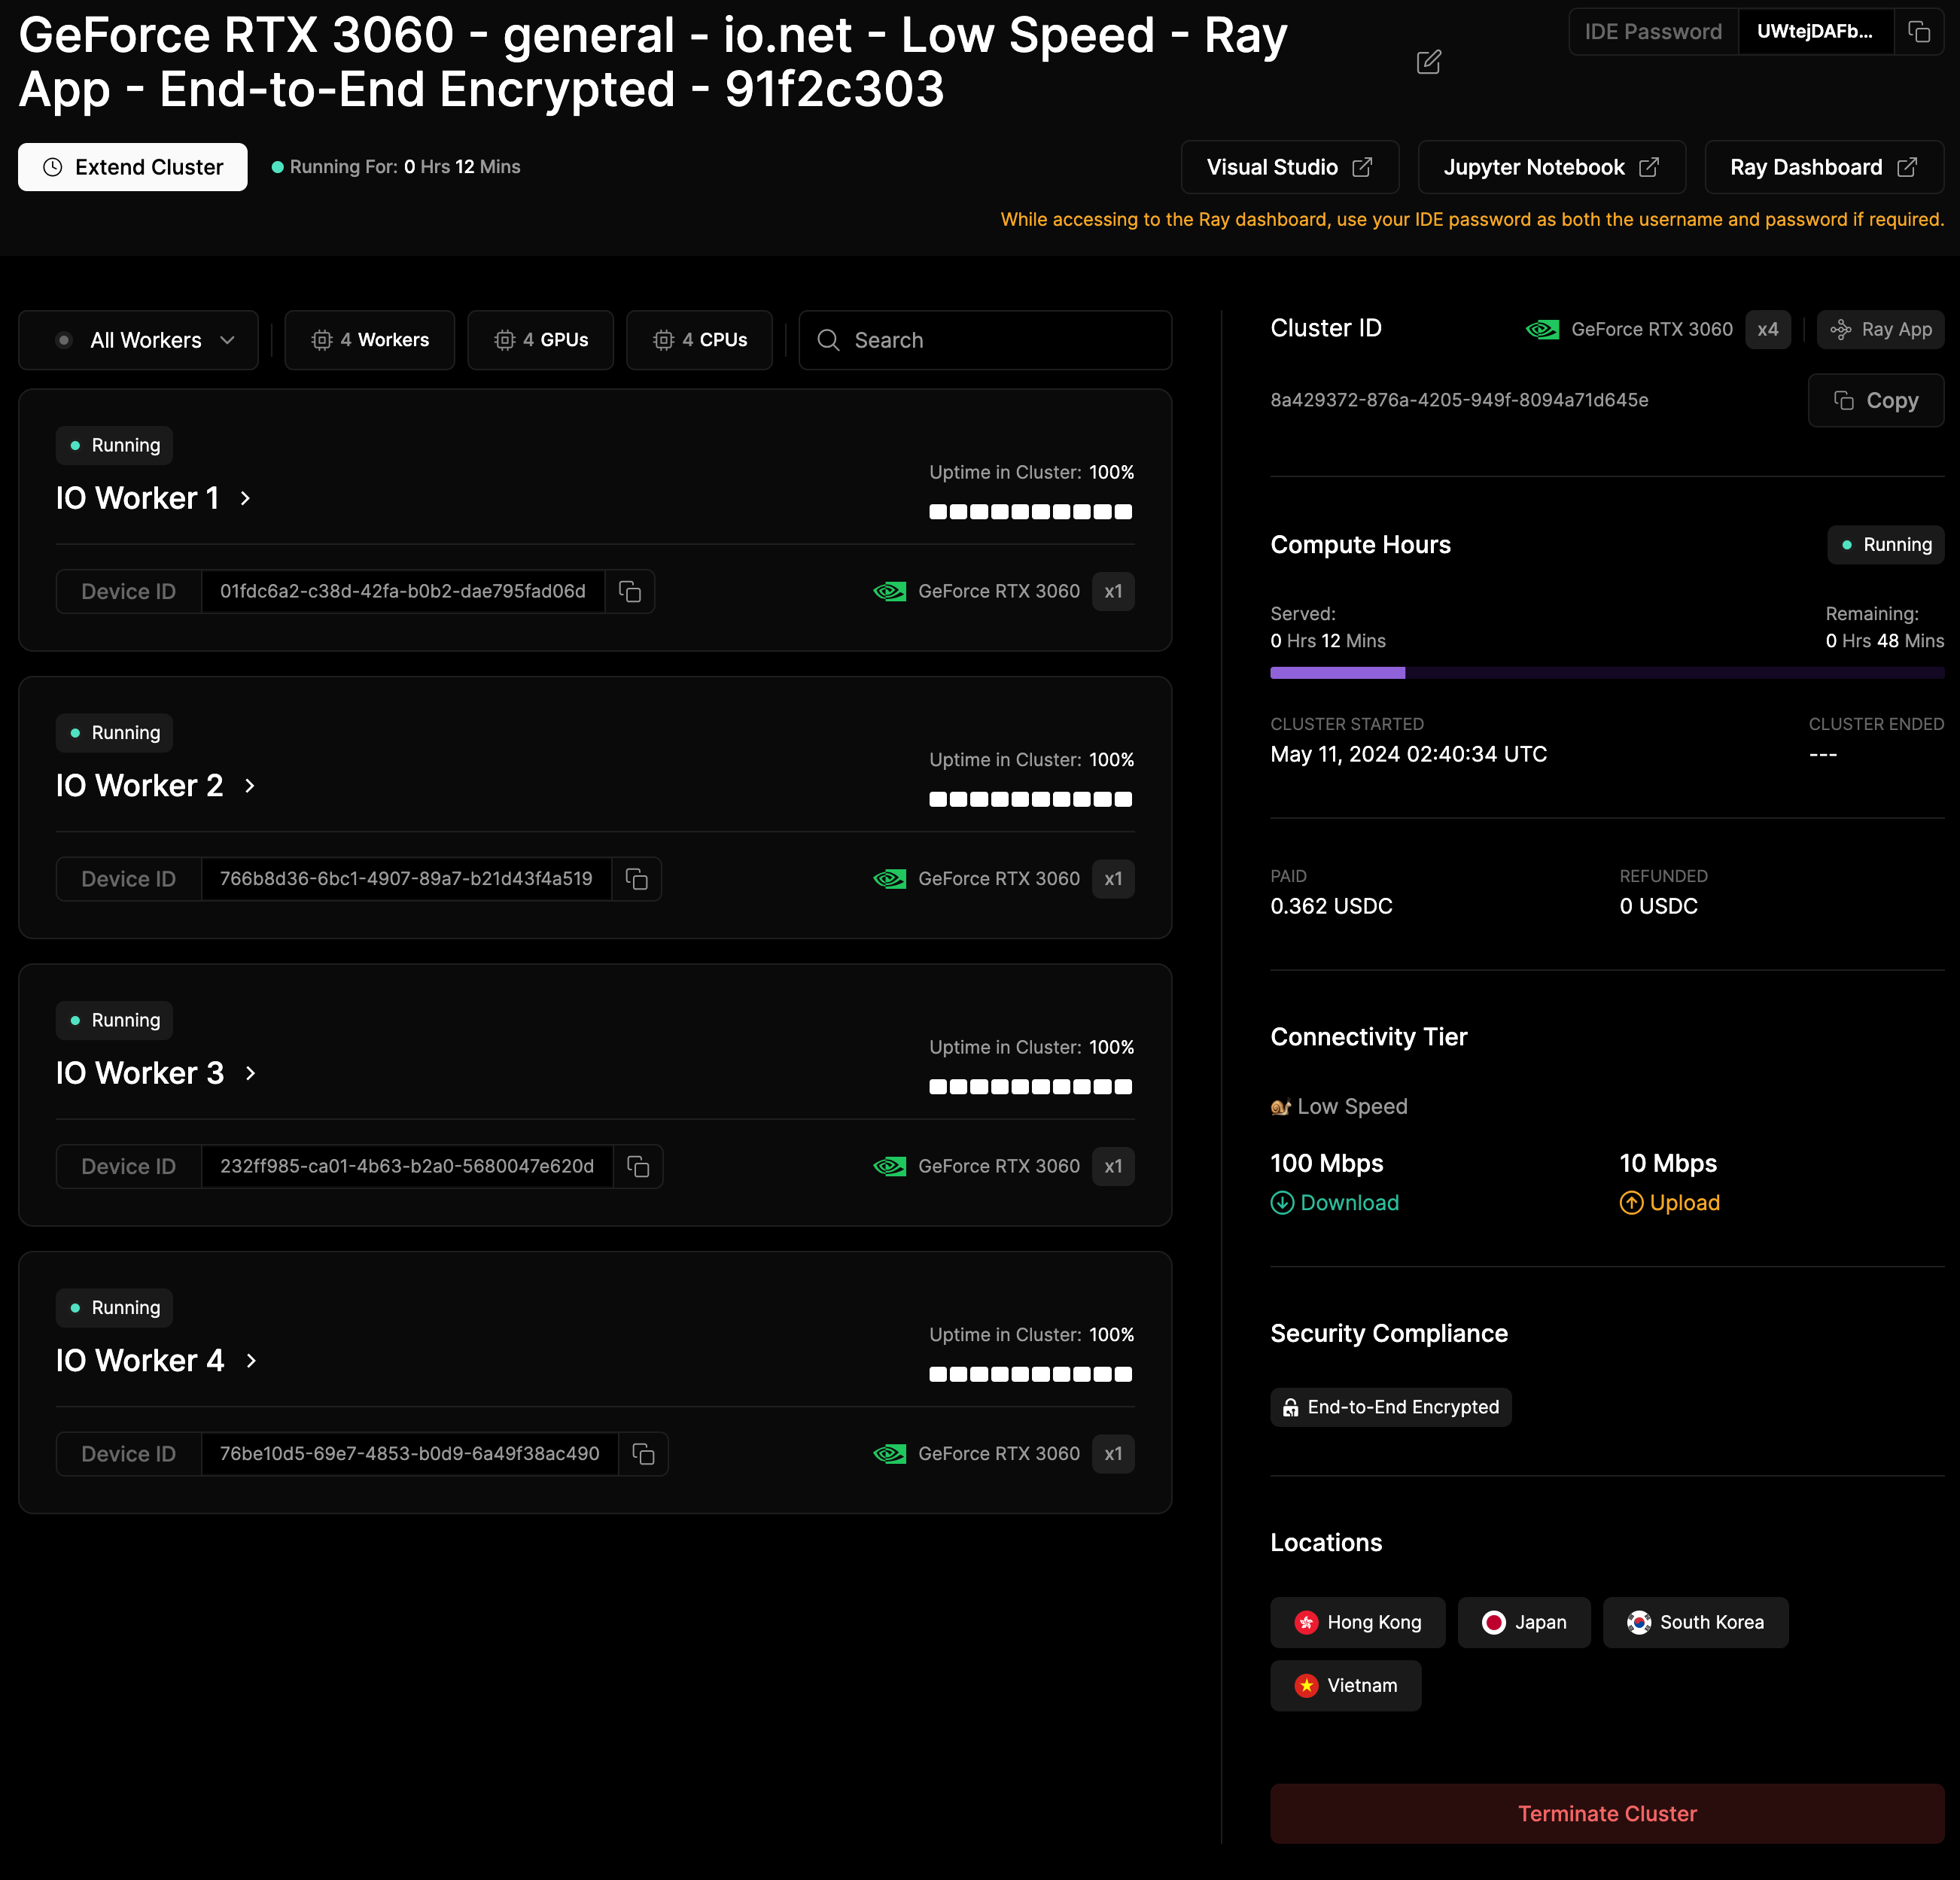
Click Return to Clusters after your cluster is successfully deployed. The screenshot below is a detail page of your cluster.
Updated 3 months ago